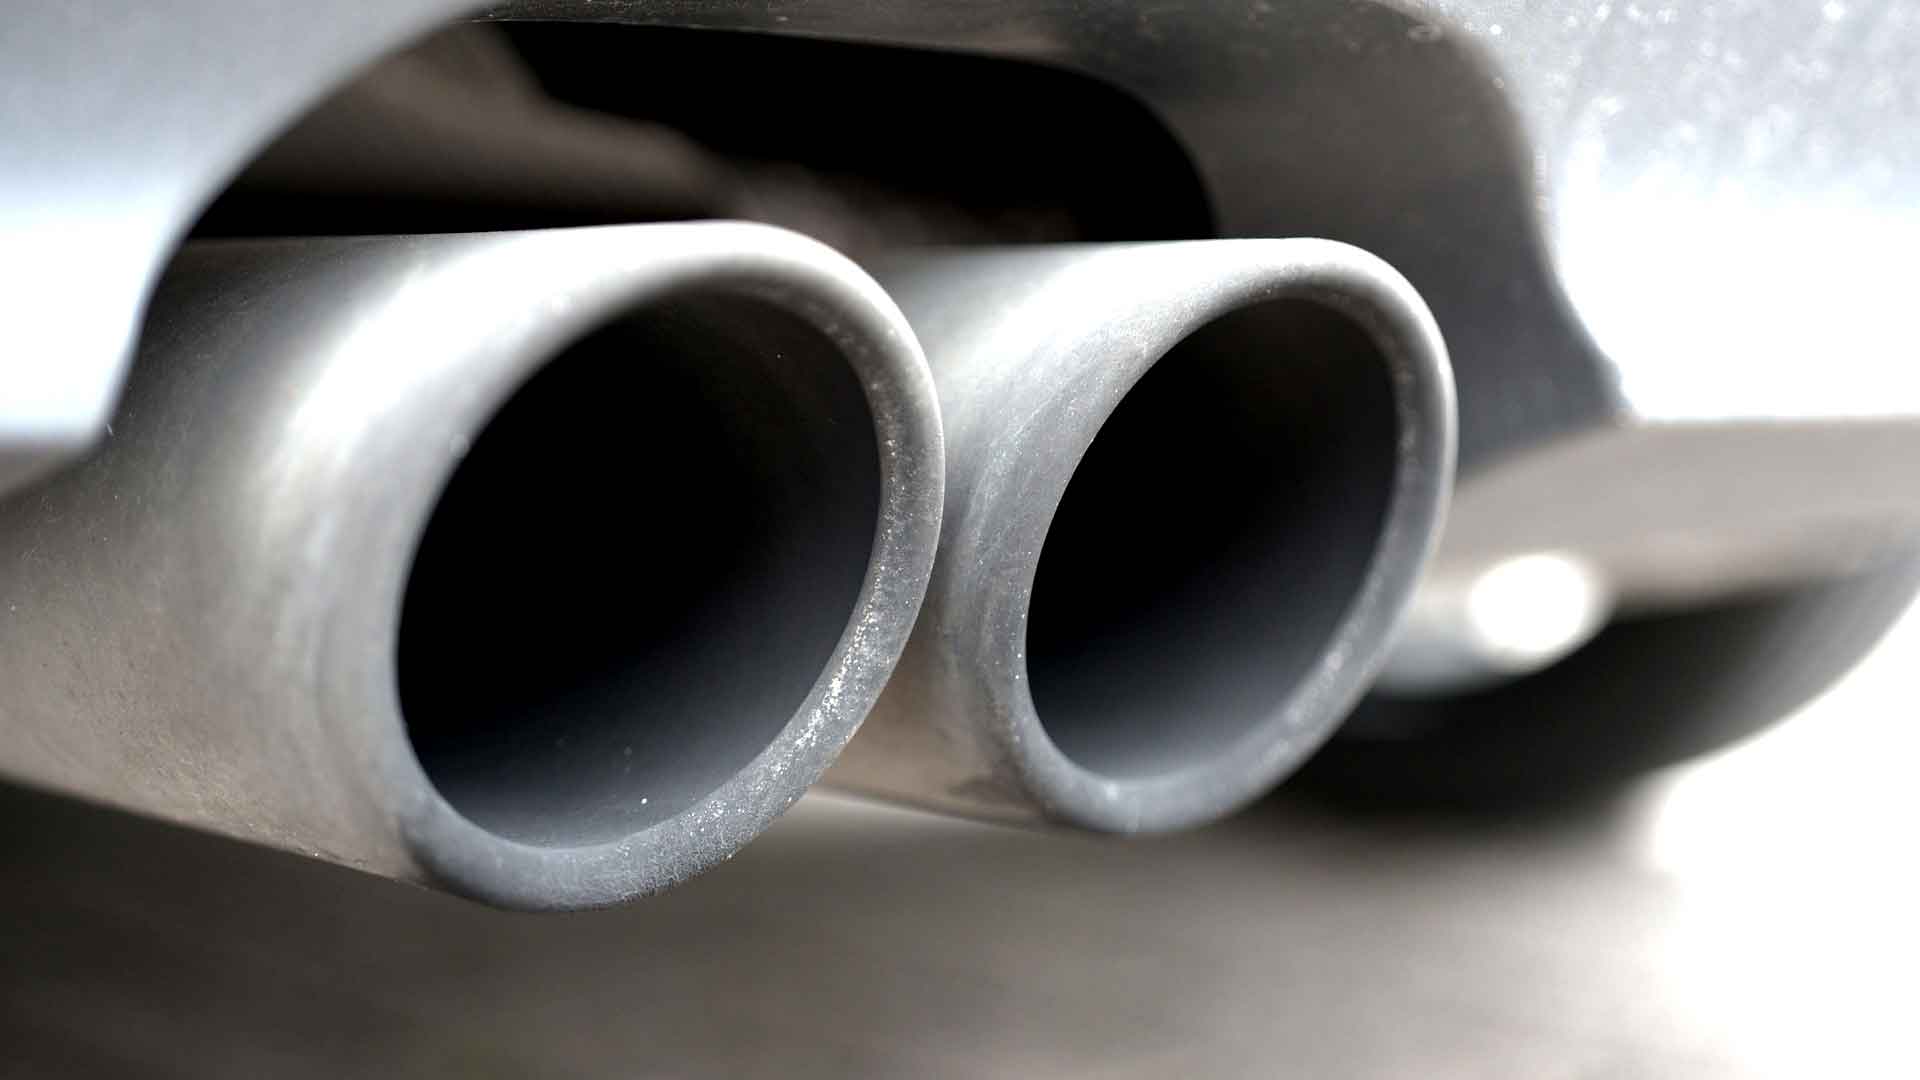
Unblocking the EGR Valve explained.
Unblocking or cleaning the Exhaust Gas Recirculation (EGR) Valve in your diesel car is a crucial maintenance task that can improve engine performance, reduce emissions, and prevent future engine issues. The EGR Valve plays a key role in reducing NOx emissions by recirculating a portion of the engine’s exhaust gas back to the engine cylinders.
Over time, it can become clogged with soot and carbon deposits, leading to reduced efficiency and potential engine problems. Here’s a step-by-step guide to cleaning an EGR Valve, but remember, the exact procedure can vary depending on the make and model of your vehicle, so refer to your car’s service manual for specific instructions.
Tools and material needed
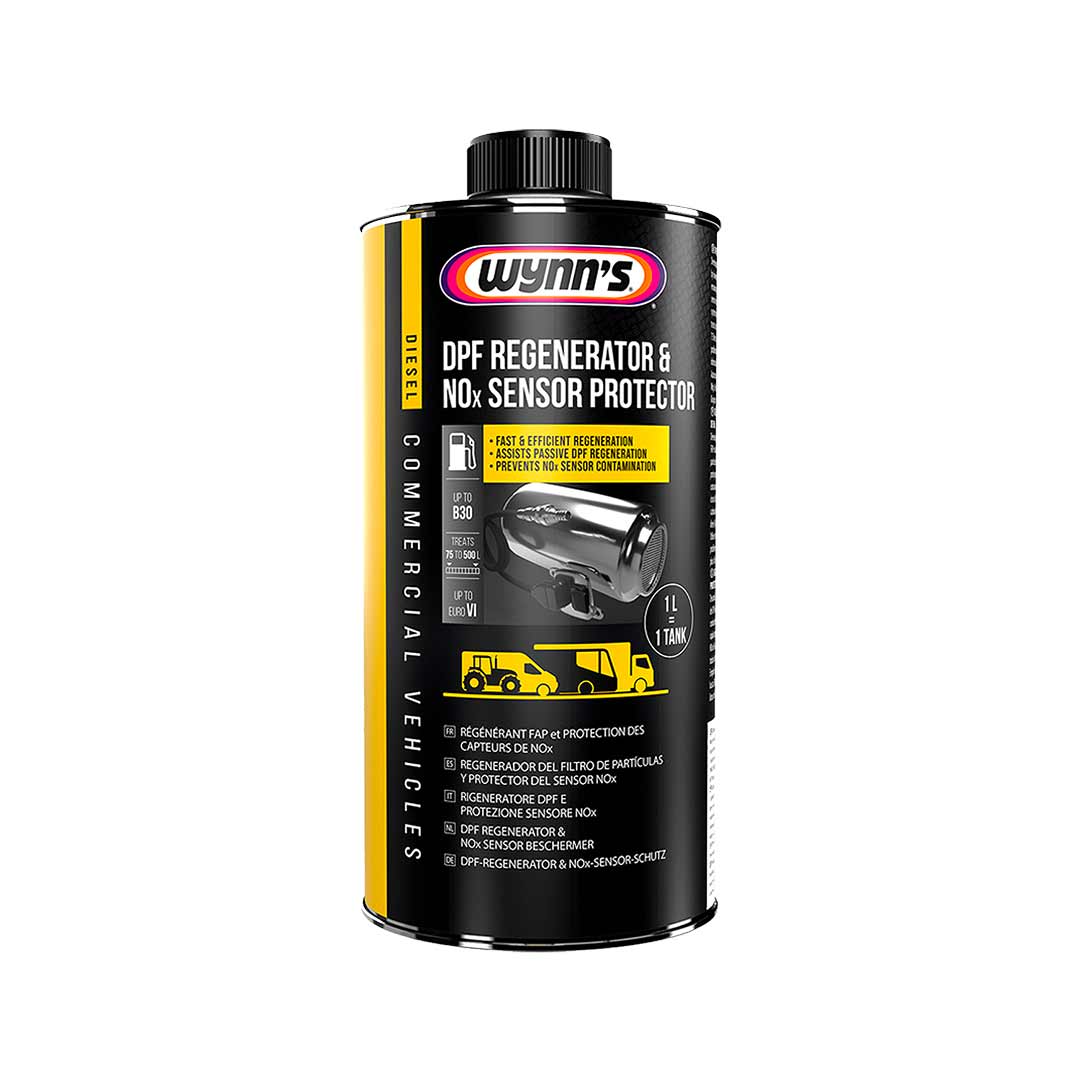
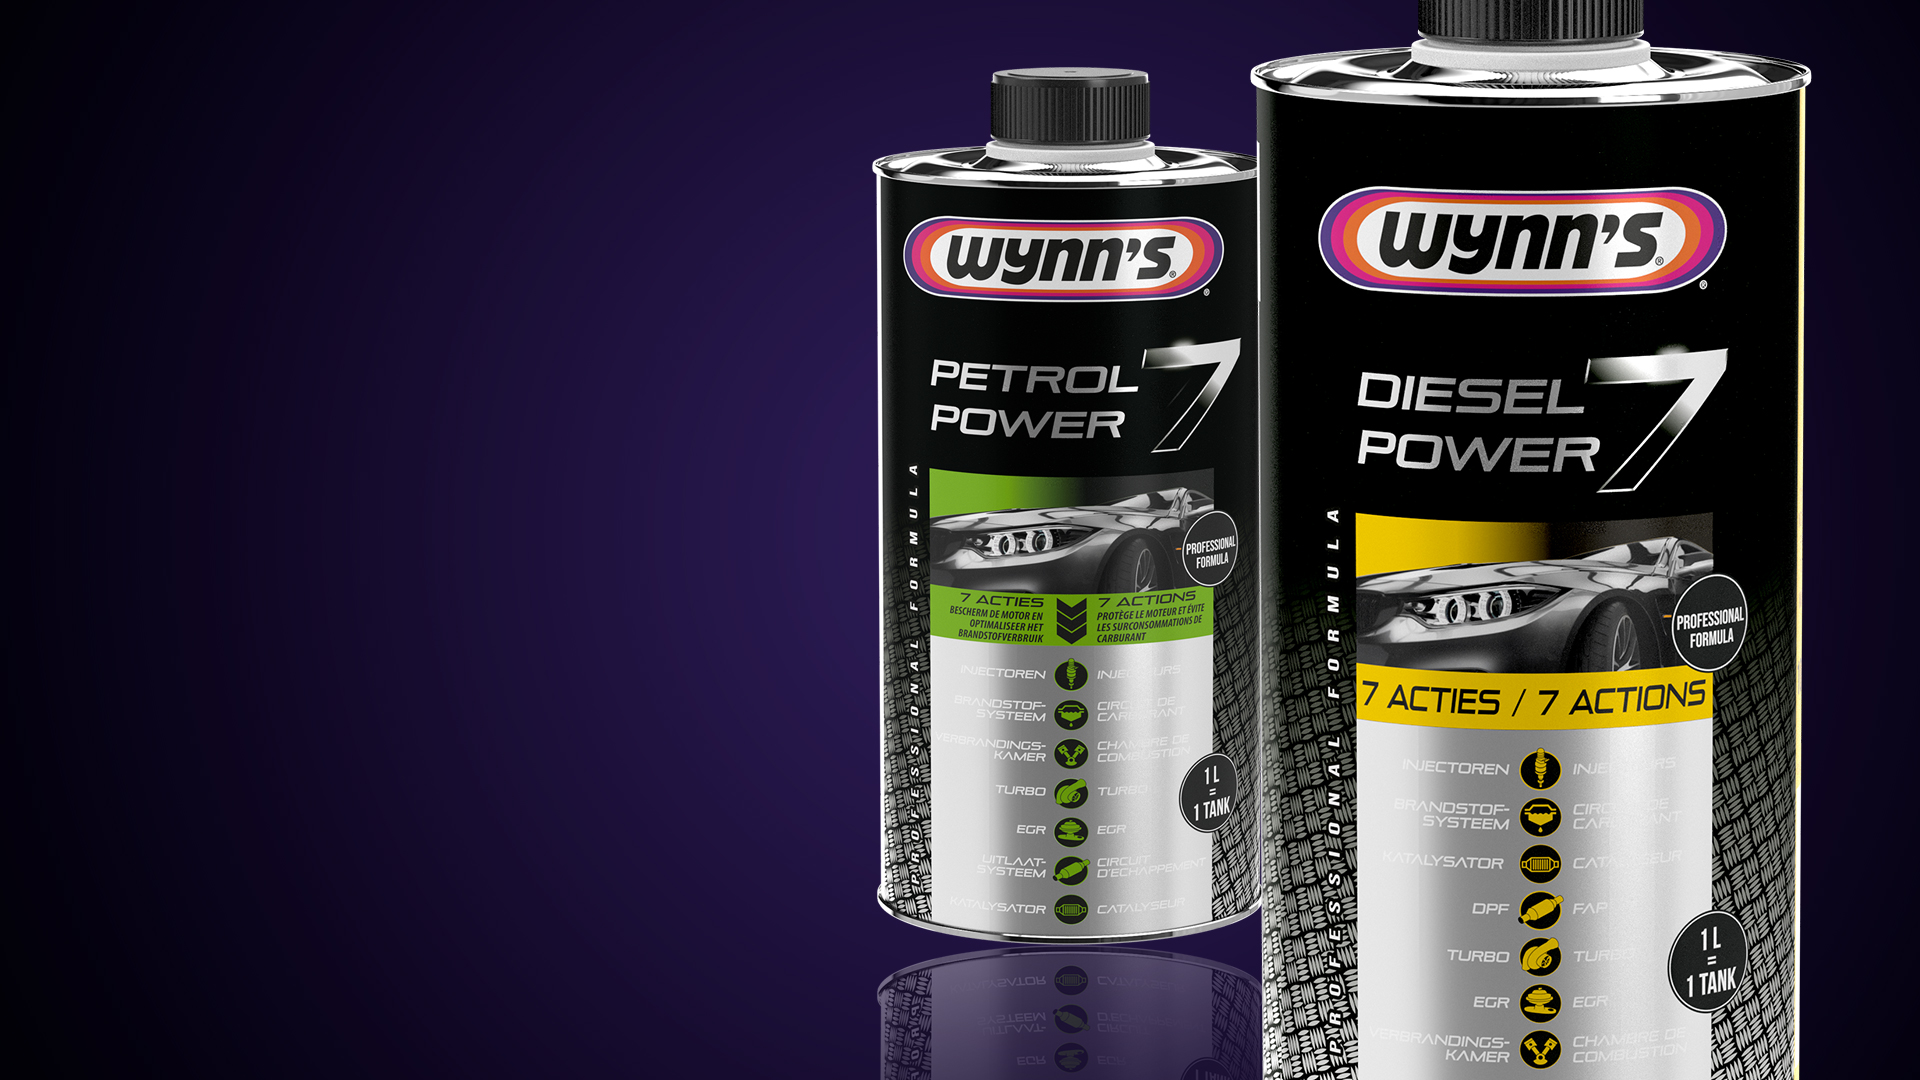
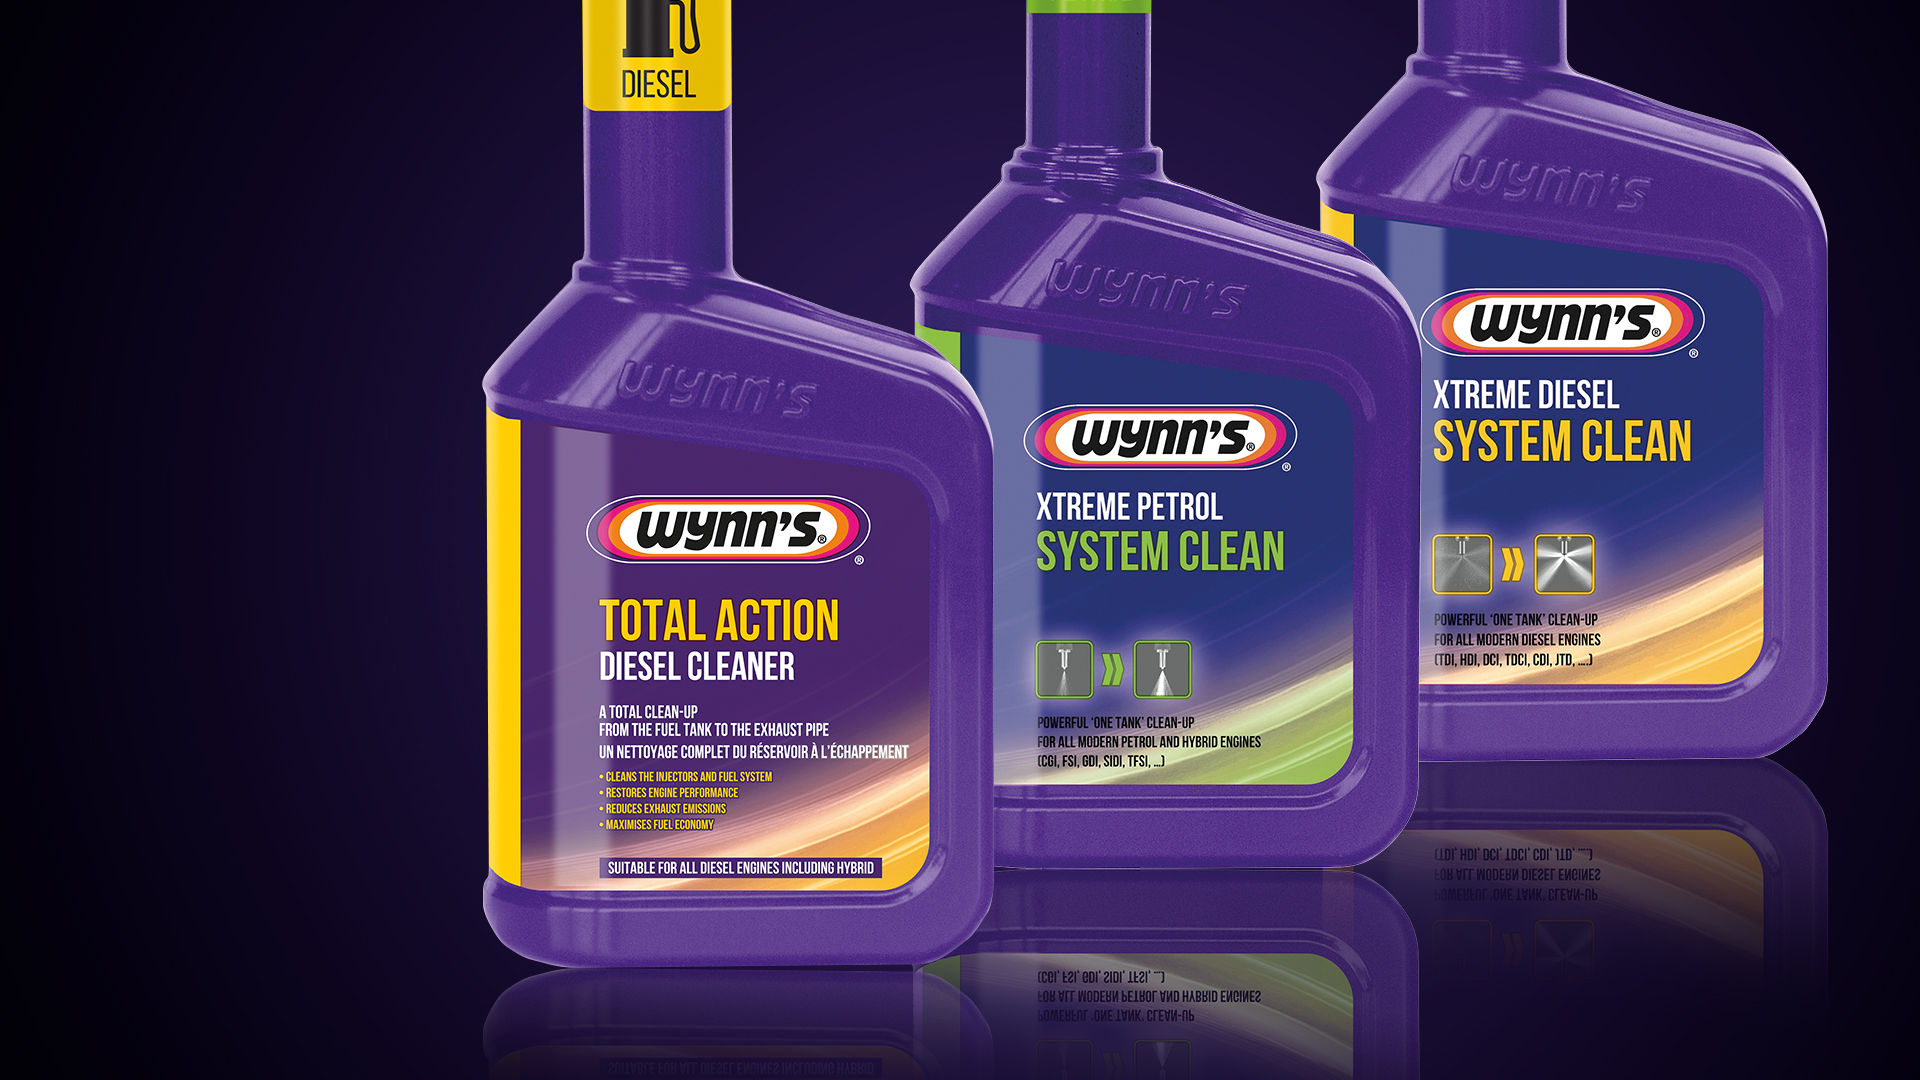
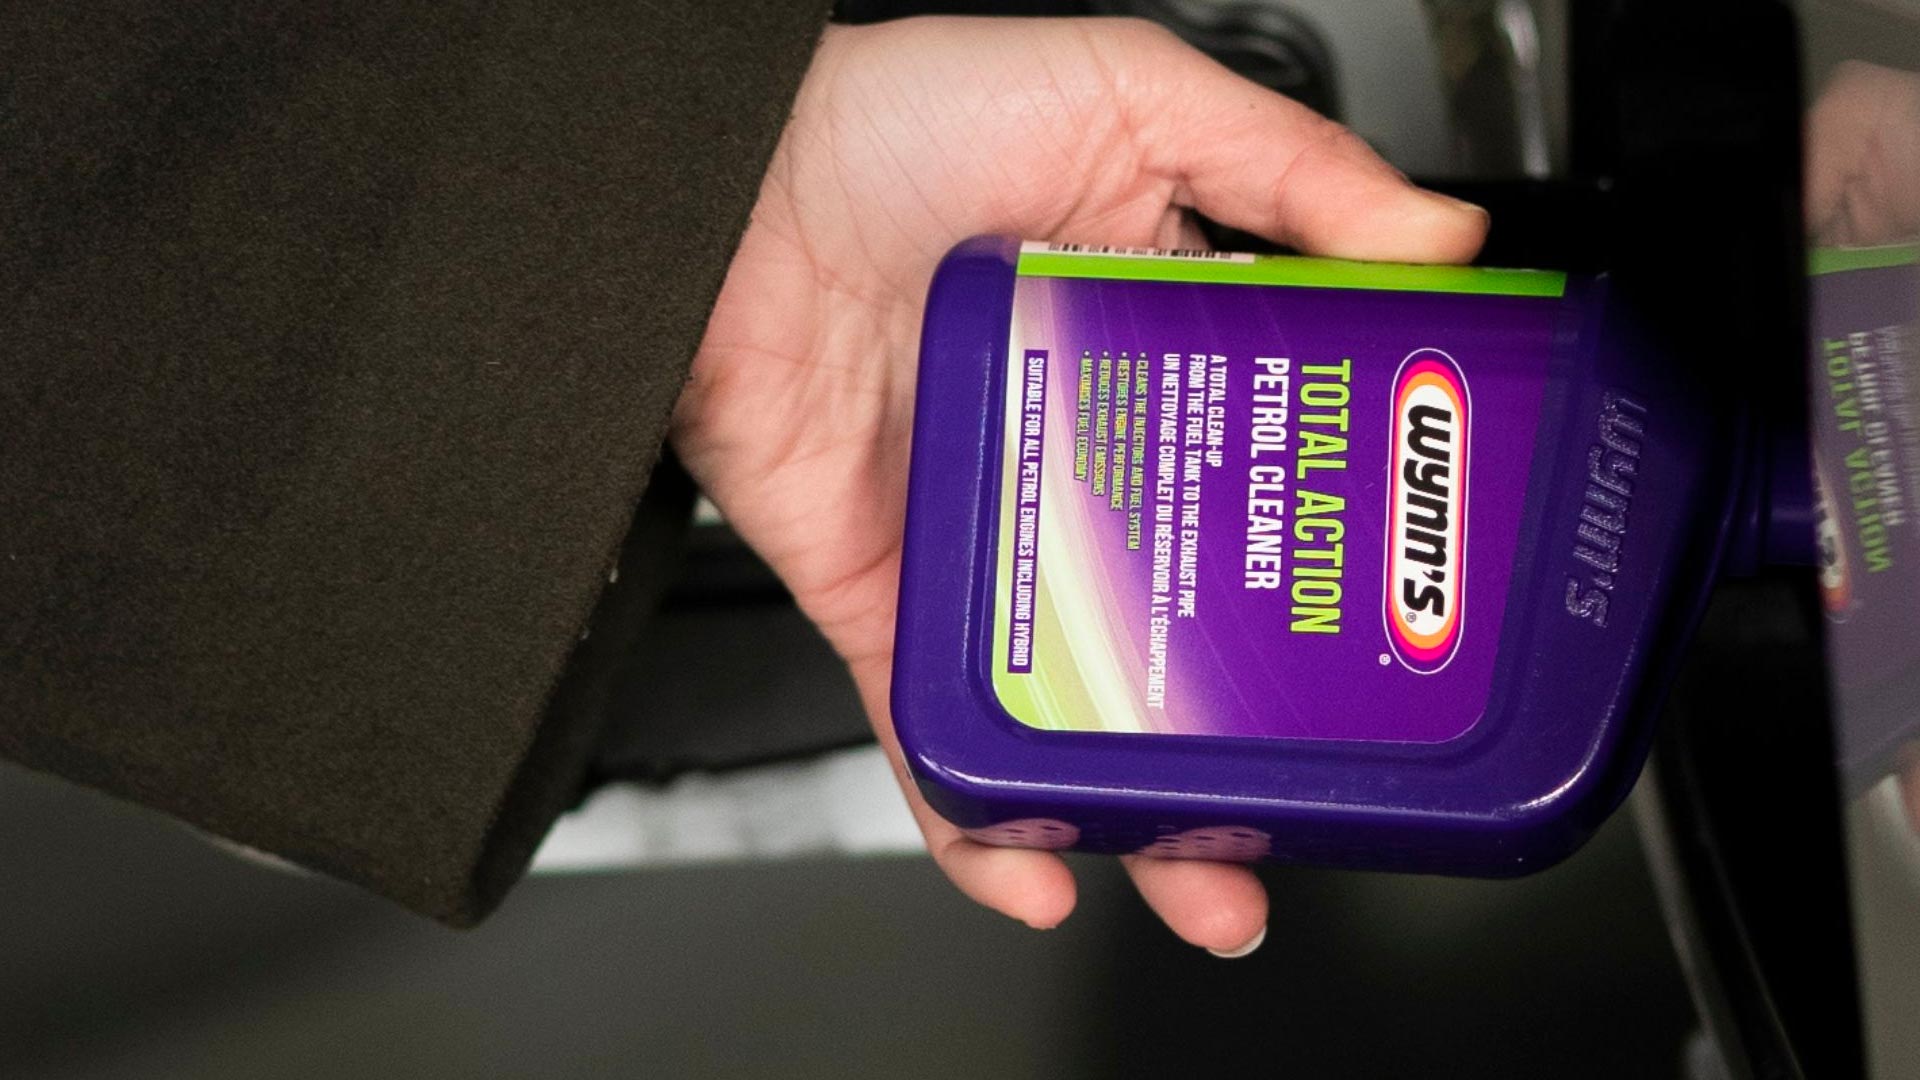
- A suitable EGR Valve cleaner (spray can be ideal for this job)
- A set of wrenches or sockets
- A gasket scraper or a non-metallic scrubbing pad
- A new EGR Valve gasket (if required)
- Safety glasses and gloves
Steps to clean the EGR Valve
1: Locate the EGR Valve
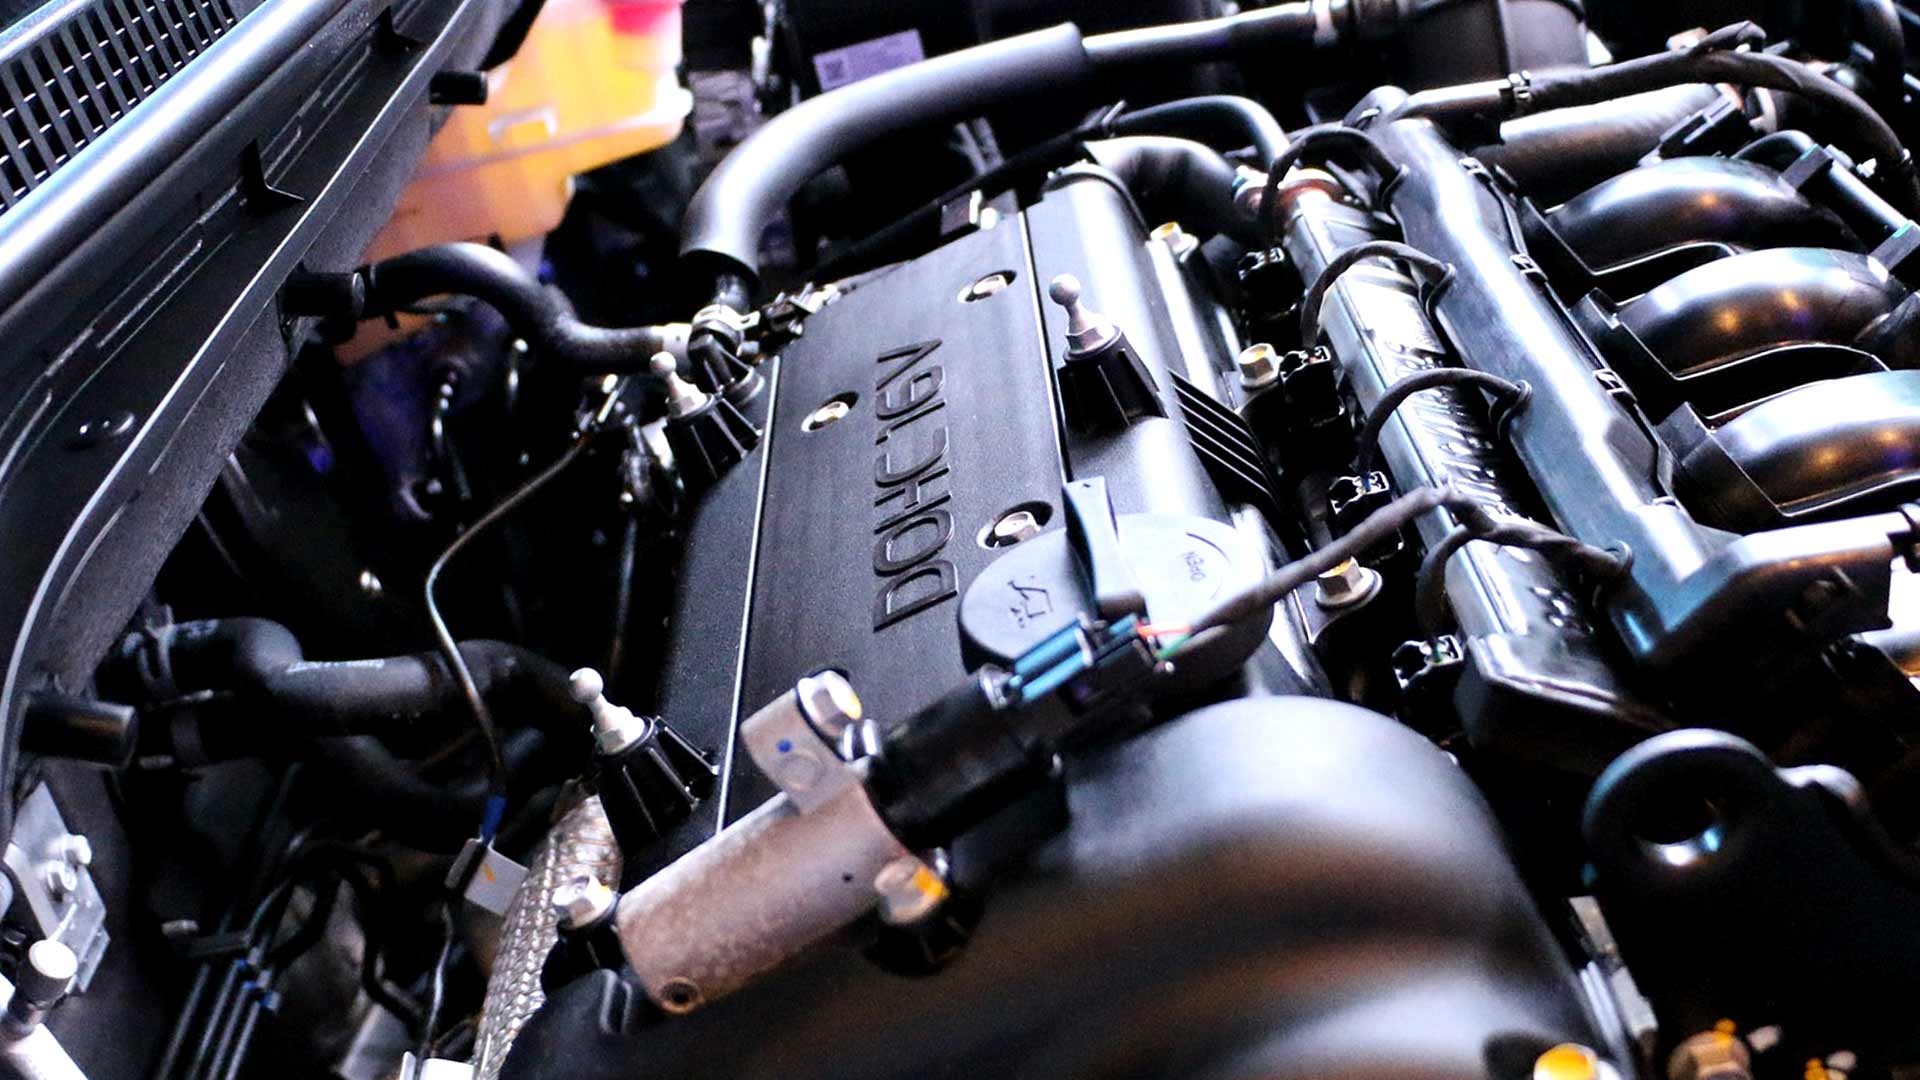
First, you need to locate the EGR Valve on your engine. It’s usually mounted on the engine’s intake manifold, but the location can vary. Consult your vehicle’s service manual for the exact location.
2.Remove the EGR Valve
- Disconnect the battery to ensure safety
- Remove any components that might obstruct access to the EGR Valve, such as the air filter housing or engine cover
- Disconnect any electrical connectors or vacuum lines attached to the EGR Valve
- Unbolt the EGR valve from its position. Be careful not to damage any gaskets if you’re planning to reuse them, though it’s advisable to replace gaskets where possible
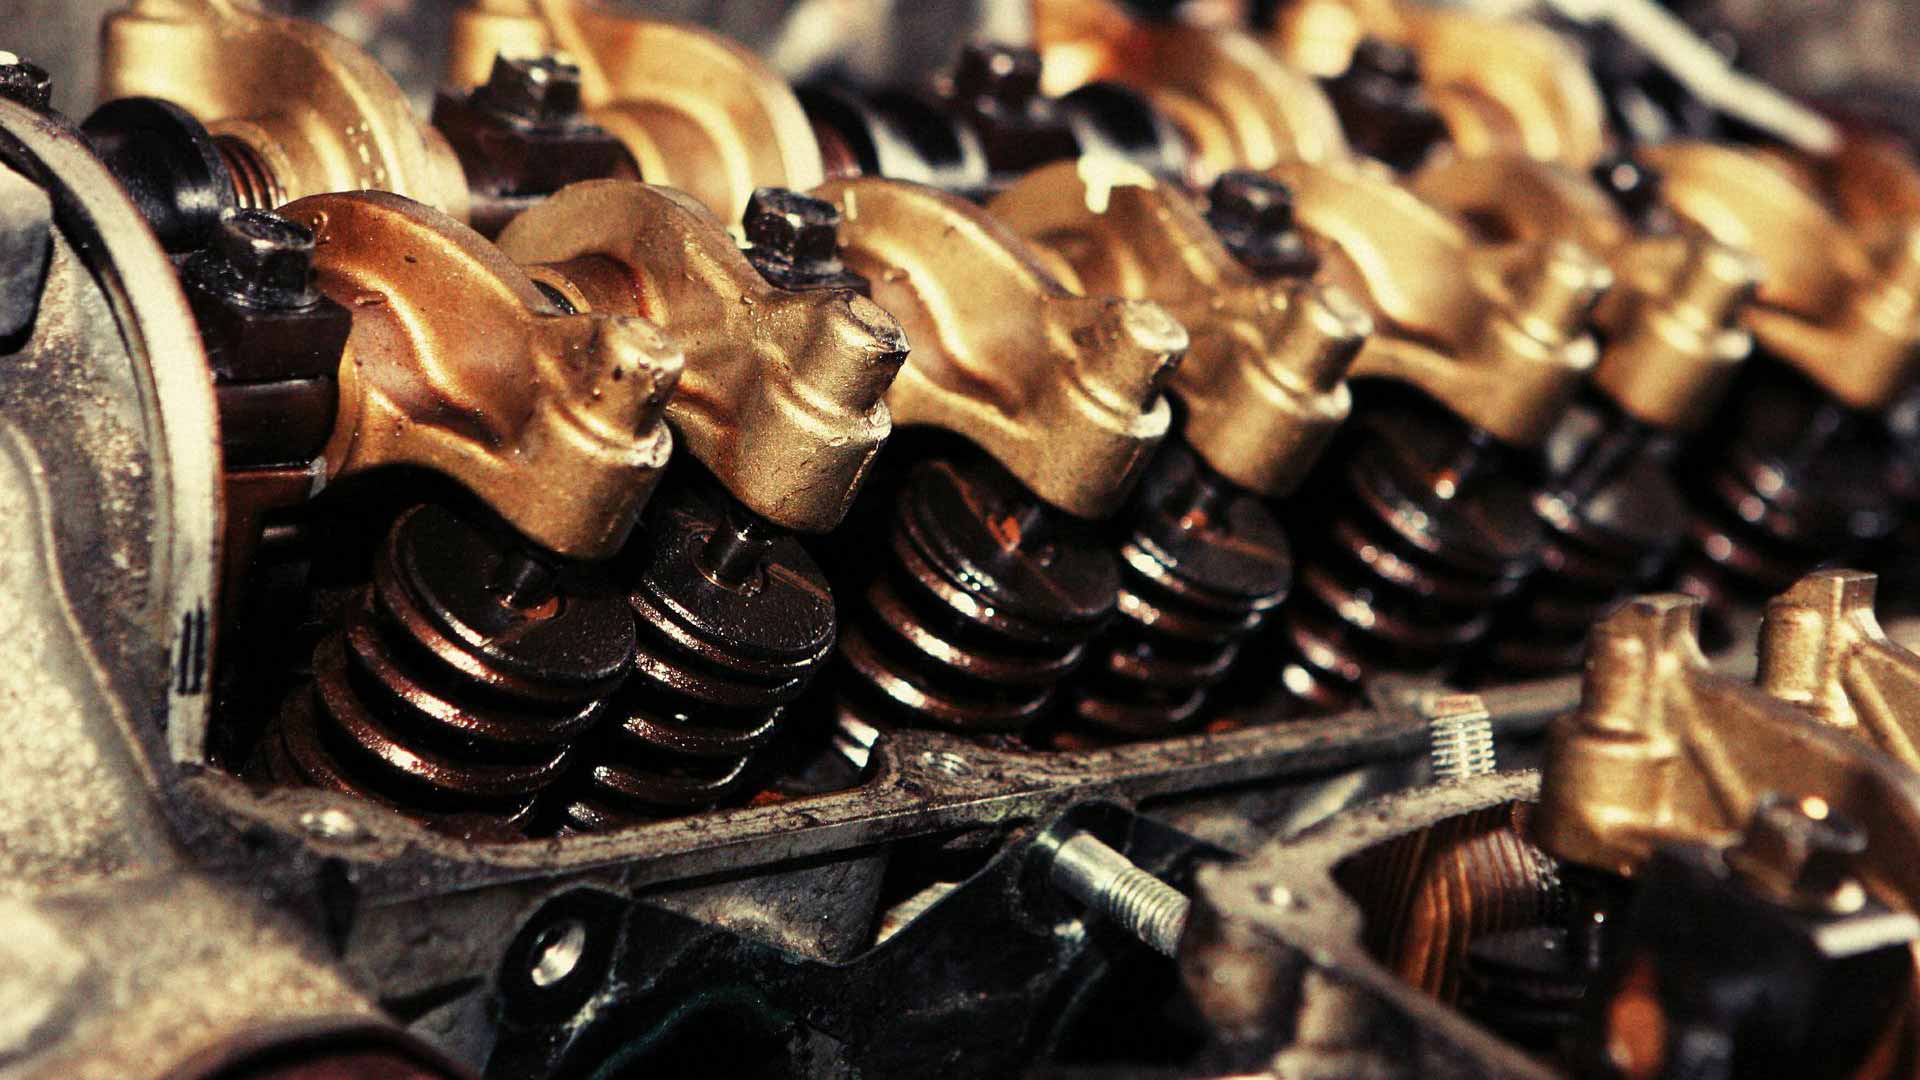
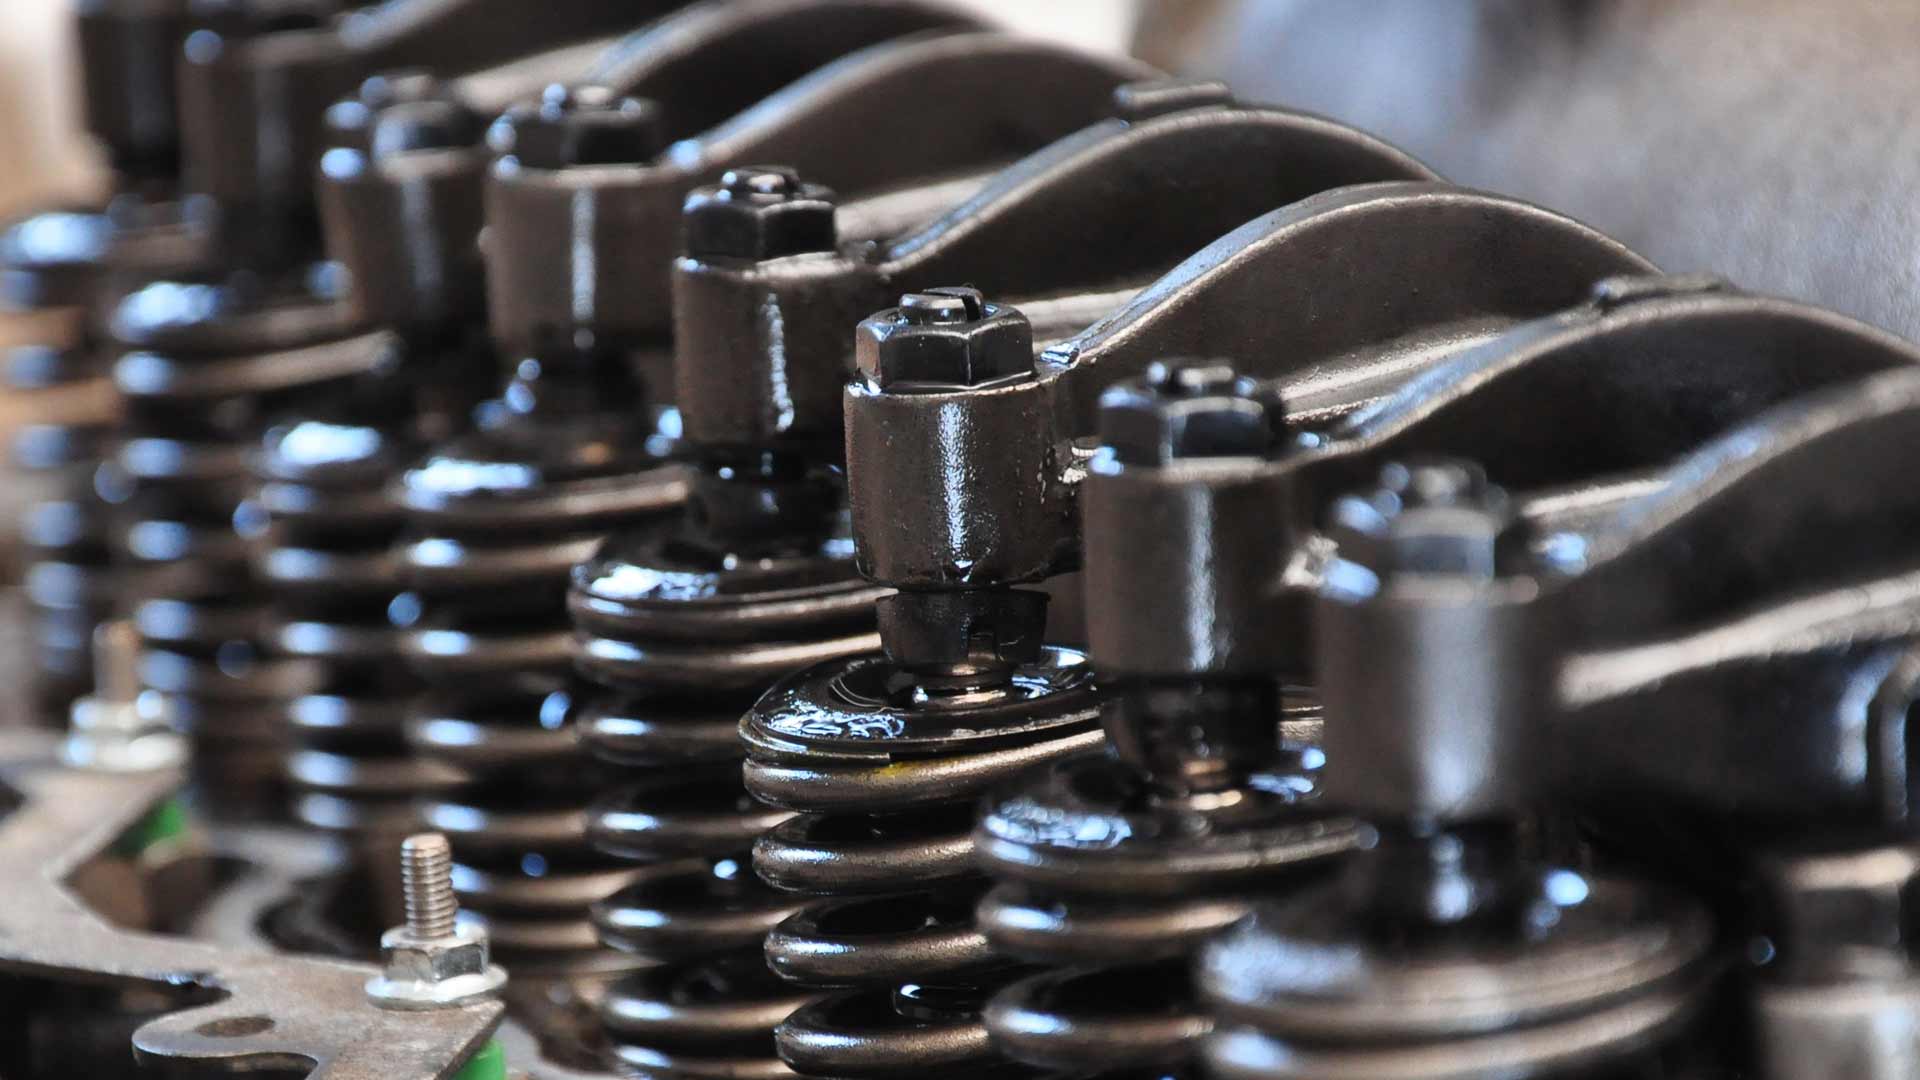
3. Inspect the EGR Valve
Once removed, inspect the EGR Valve for damage or excessive wear. If it’s severely damaged, it might be better to replace it rather than clean it.
4. Clean the EGR Valve
- Use an EGR Valve cleaner spray to soak the carbon deposits. Follow the instructions on the cleaner label. Allow it to sit for the time specified by the product
- Use a gasket scraper or a non-metallic scrubbing pad to remove the carbon buildup gently. Avoid using metal tools that can damage the valve
- Make sure the valve opening and pathway are clear of deposits. You can use a small brush or a piece of cloth to clean hard-to-reach areas
5. Reinstall the EGR Valve
- Before reinstalling, ensure the surface on the engine where the EGR mounts is clean and free of old gasket material
- If required, install a new gasket to ensure a proper seal
- Reattach the EGR Valve to its position and tighten the bolts to the manufacturer’s specified torque
- Reconnect any electrical connectors or vacuum lines that were disconnected
- Reassemble any other components that were removed
6. Test Your Work
- Reconnect the battery
- Start the engine and let it reach its normal operating temperature. Check for any error codes or warning lights on the dashboard. It may be beneficial to take the car for a test drive to ensure it’s operating smoothly
Additional Tips
- Always refer to the vehicle’s service manual for specific instructions and torque specifications
- Consider wearing safety glasses and gloves to protect yourself from dirt and chemicals
- If you’re not comfortable performing this task, it’s advisable to seek professional help
Cleaning the EGR Valve can often restore engine performance and efficiency lost due to EGR system issues. However, if the valve is damaged or if cleaning doesn’t resolve the issue, replacement might be necessary.